
Our Location
304 North Cardinal St.
Dorchester Center, MA 02124
Learn how to prepare engine installation for BMW or MINI replacement engines, from VIN fitment and workspace setup to fluids, parts, and first start checks.
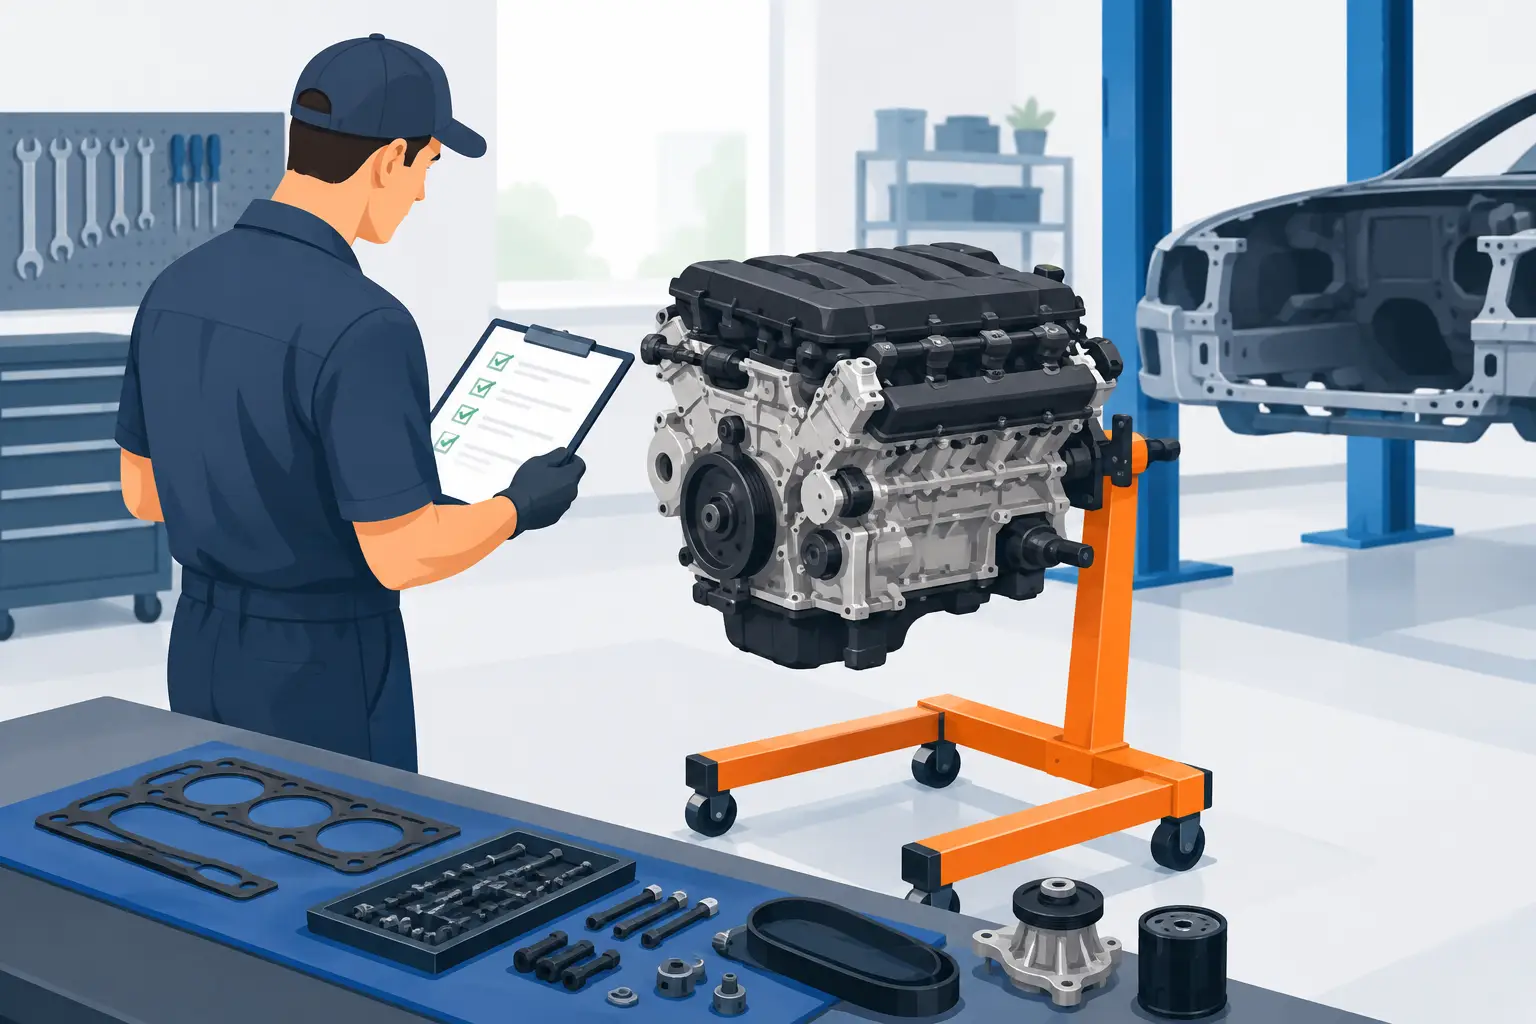
A replacement BMW or MINI engine can be an economical way to keep a well-maintained vehicle on the road, but the installation is only as good as the preparation behind it. Knowing how to prepare engine installation before the hoist moves protects the replacement engine, prevents avoidable delays, and gives the shop a clearer path to a reliable first start.
Whether you are fitting an N47 diesel in a 3 Series, a B58 turbocharged petrol engine in a 5 Series, or an M57 swap assembly for a project build, preparation begins well before the old engine comes out. Engine code, donor configuration, electronics, accessories, fluids, and service parts all need to be considered as one job.
BMW engines often look similar across model ranges, but physical fitment is only one part of compatibility. A replacement engine must match the vehicle’s VIN details, engine code, fuel type, transmission arrangement, emissions equipment, and electronic management requirements.
For example, N47 and B47 four-cylinder diesels serve different generations of BMW models and can have variations in turbo setup, sensors, oil pans, engine mounts, and wiring connections. The same applies to six-cylinder engines such as the M57, N57, B57, and B58. An engine from an X5 may require components transferred from a 3 Series donor vehicle, even when the core engine family is the same.
Before installation, compare the replacement engine with the removed unit. Check the engine code stamped or labeled on each assembly, then review the intake side, exhaust side, turbocharger position, mounting points, oil pan shape, sensor locations, crankshaft and camshaft sensors, injector type, and wiring connectors. If the replacement is supplied as a complete engine assembly, establish exactly what is included and which original parts must be reused.
BAV Engines supports fitment checks using VIN, registration, and engine-code information because this step reduces the risk of ordering an engine that is close, but not correct. That distinction matters most on late-model BMW and MINI vehicles, where electronic compatibility can affect the whole installation.
A clean, organized workspace is not a luxury when replacing an engine. Dirt entering an open intake, coolant passage, fuel line, or oil gallery can create a fault that is difficult to trace after the vehicle is back together.
Position the vehicle on secure lifting equipment and leave enough room for an engine hoist, transmission jack, workbench, and parts storage. Photograph the old engine bay before disassembly, particularly vacuum routing, coolant hoses, electrical connectors, ground straps, and turbocharger pipework. Labeling connectors and bagging fasteners by component may feel slow at first, but it saves significant time during reassembly.
Inspect the engine hoist, lifting chains, load leveler, and rated lifting points before use. BMW six-cylinder engines and M-series powertrains are substantial assemblies, and an unstable lift can damage the engine, bodywork, wiring harness, or technician. Follow the vehicle manufacturer’s lifting procedures and use suitable safety equipment throughout the job.
It also helps to prepare a dedicated bench for transferred components. Keep the original accessories separated into groups: electrical components, cooling parts, intake components, exhaust and turbo parts, brackets, and fasteners. Avoid placing sensors, injectors, or open lines directly on the floor.
Even a professionally inspected used engine should be checked again at the point of installation. This is not a sign of distrust. It is the best time to identify shipping damage, missing transferred parts, or a component that should be renewed while access is easy.
Start with a visual inspection. Look for cracked housings, broken connectors, damaged threads, bent brackets, oil leaks, coolant residue, or impact marks around the oil pan and valve cover. Turn the engine by hand using the correct crankshaft bolt and socket. It should rotate smoothly with normal compression resistance and without metallic binding.
Check the oil condition and verify that there is no obvious water contamination. If the engine has been stored for a period, remove any protective shipping plugs only when you are ready to install the related hose, sensor, or pipe. This keeps debris out of the engine.
For a diesel engine such as an N57, M57, B47, or B57, inspect injector wells, glow plug connections, turbo oil lines, and the condition of the intake and exhaust ports. On turbocharged petrol engines including the B58, S55, S58, and S63, pay close attention to charge-air connections, cooling lines, turbo feed and return lines, and heat shielding. High-performance engines create more heat and operate under greater load, so a small leak or damaged hose can become an expensive problem quickly.
Installing a used replacement engine with worn external service parts can create false economy. Some components are far easier to replace while the engine is out of the car or while the transmission is separated.
The exact list depends on the model, mileage, and engine condition, but these items deserve a careful decision:
Timing components need a more specific assessment. BMW diesel engines such as the N47 are widely associated with timing-chain concerns, while other engine families have their own known wear points. If there is uncertainty about chain condition, guides, tensioners, or service history, address it before installation rather than hoping the issue is not present. The labor saved can outweigh the cost of preventive parts.
Many replacement engines are supplied as long blocks or complete assemblies, and the difference affects what must be transferred. Reuse only parts that are confirmed compatible with the replacement engine and are in serviceable condition.
Depending on the application, this may include the oil pan, pickup tube, engine mounts, intake manifold, exhaust manifold, turbocharger, injectors, high-pressure fuel pump, alternator, AC compressor, starter motor, wiring harness, sensors, and brackets. Do not assume that an accessory from one version of an engine will plug into another simply because the mounting holes align.
Use new gaskets, O-rings, sealing washers, and single-use fasteners where specified. BMW commonly uses torque-to-yield bolts on critical locations, including some flywheel, flexplate, engine mount, and drivetrain fasteners. Reusing hardware that the manufacturer designates as single-use risks incorrect clamping force.
If injectors, engine control modules, or security-related electronics are being changed, confirm coding and adaptation requirements before the engine is fitted. Some BMW and MINI systems require injector calibration values, throttle adaptations, crankshaft adaptations, or immobilizer-related programming. A mechanical installation can be correct while the vehicle still will not start until electronic setup is completed.
Never rely on fluids remaining in a used engine or in the vehicle after a major failure. Fill the engine with the correct manufacturer-approved oil grade and install a quality oil filter. If the previous engine suffered internal damage, thoroughly clean or replace oil coolers, lines, filter housings, and related components as needed. Metallic debris left in the lubrication system can damage the replacement engine within minutes.
Flush the cooling system when contamination, oil residue, rust, or incorrect coolant is present. Replace damaged hoses and inspect the radiator, expansion tank, heater core circuit, and electric water pump where applicable. Use the specified coolant mixture and follow the correct BMW bleeding procedure, especially on vehicles with electric coolant pumps.
Fuel systems deserve the same attention. Replace the fuel filter where applicable, inspect supply and return lines, and make sure diesel systems are primed correctly. On direct-injection gasoline engines, keep fuel connections clean and use proper high-pressure fuel-system procedures. Fuel leaks near a hot turbocharger or exhaust manifold are never a minor concern.
Before the first start, complete a final inspection of every hose, connector, ground strap, heat shield, and fastener. Confirm that the engine has the right oil level, coolant level, and transmission fluid level where relevant. Rotate the engine by hand again if practical, particularly after accessories or transmission components have been fitted.
Oil pressure should be established before allowing the engine to run under load. The exact priming method depends on the engine and its fuel and ignition system, but the goal is the same: circulate oil through the engine before a full start. A professional technician can disable fuel or ignition as appropriate and crank the engine in short intervals while monitoring oil-pressure response.
At first start, let the engine idle while watching for oil-pressure warnings, coolant leaks, fuel leaks, smoke, abnormal noises, and fault codes. Do not rev a cold replacement engine to test it. Allow it to reach operating temperature, verify cooling-fan operation, and recheck fluid levels after the thermostat has opened.
A replacement engine should be treated as a complete installation project, not a single component swap. Careful fitment confirmation, inspection-focused preparation, fresh service parts, and a controlled first start give your BMW or MINI the best chance of returning to dependable service with confidence.